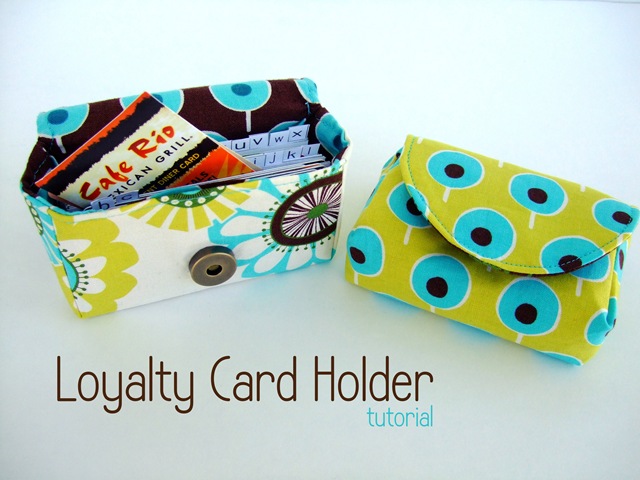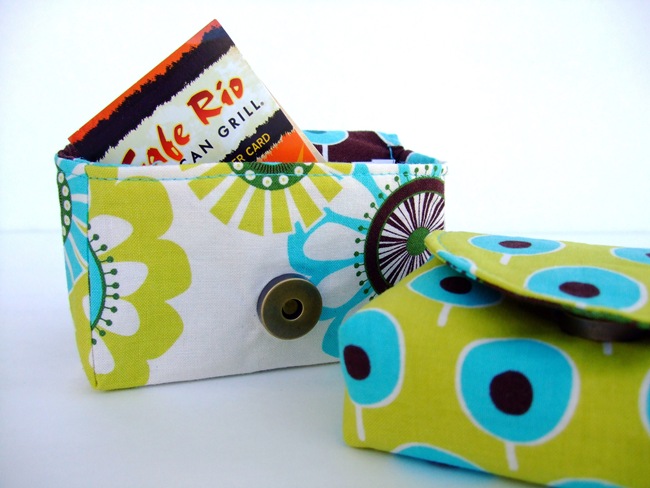
Today I’m going to show you how to make an alphabetized organizer for your loyalty cards. You could also store your business cards inside. My point and shoot camera also fits perfectly in it!

I saw something like this that was made with vinyl at a favorite quilt shop, but they were asking $18.00 for it! We all know the benefit of knowing how to sew, and how it can sometimes save us money. (That is, if we aren’t hoarding fabric!)
You’ll need:
10” x 11” piece of fabric
10” x 11” piece of coordinating fabric
10” x 11” piece of fusible featherweight interfacing (not the thinnest you can get, but not the thickest either—thick enough to hold some shape to the holder)
one magnetic snapcoordinating thread
Printed Pattern A and Pattern B, taped together where indicatedPrinted Alphabetizing Cards: 1, 2, 3, and 4 (optional)

Cut out one pattern from both fabrics and the interfacing. Also cut out one 1.5” x 1.5” square interfacing for the magnetic snap.

Iron the interfacing cut from the pattern onto the wrong side of the main outer fabric. Iron the small square of interfacing onto the wrong side of the lining fabric, at the top.

Take one of the rectangle “arms” of the pattern and line up perfectly on the edges, right sides together. Sew with a 1/4” seam.

Now line up the two edges that have a black line marking them, and sew those, right sides together.

So you’ll have a sort of box side now.

Repeat with the other “arm” on the outer fabric.

Now do the same thing to the lining fabric.

Next we’ll place the magnetic snap. Crease with your fingers a line marking the bottom of the holder.

Measure up about 3/4” of an inch, mark, and insert one side of the magnetic snap so it’s on the outside of the outer fabric. For more thorough directions on how to insert a magnetic snap, just google it and you’ll find all sorts of tutorials.

Insert the other half of the snap on the right side of the lining, leaving about 1” in order to be able to sew around the snap. You may want to adjust the snap placement to your liking, but keep in mind when placing both sides of the snap that you’ll want to place it so the edge of the snap is at least 3/4” from the top of the lining because you will be sewing around the snap, so adjust the spacing of the snap in order to have enough space to work around when sewing the lining flap. Tip: if you are having a hard time getting around the snap on the lining, try using your zipper foot.

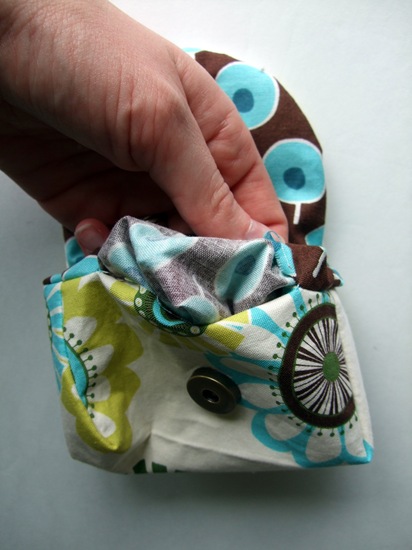
Insert the outer fabric into the lining, right sides together as pictured below.

Pin around the flap and the edges of the holder. Leave about a 3” opening on the straight part (not pinned in the picture). Now sew around the edges, making sure to leave the 3” opening for turning.

I had to take off the U-shaped part of my machine to sew around the edges since it is small. And it looks a little crazy. Adjust often so you don’t sew a layer you aren’t supposed to. Make sure your needle is in the down position when adjusting so that your stitches remain even.

When you get to the corners of the flap, turn the holder a 90 degree angle to you have a nice, square corner stitch. I also backstitched a few times in the corners to reinforce.


Clip the corners and also the curve of the flap.


Pull the outer fabric through the 3” opening. Iron well, pin, and then topstitch around the edges, again reinforcing the corners with backstitching if desired. (next 3 pictures)


Cut the alphabetizing cards out, if desired, and place those many loyalty cards into your new holder. Finding one of those cards has never be easier!


No comments:
Post a Comment